Become an Instructor
The Studio Pilates Cueing Formula
The Cueing Formula evolved from the analysis of literally tens of thousands of Pilates classes and the most effective way to communicate an exercise so that the vast majority of people ‘get it’ straight away. With effective cueing, people don’t have to ask questions and they gain the full benefit from the exercise. The Cueing Formula has been tried and tested and it’s one of the key pillars that formulate the Studio Pilates International® style of instructing.
Let’s examine the Cueing Formula closely to see how you incorporate it into your instructing and enhance your communication and your class experience.
The Cueing Formula
Name of Exercise
What and/or Where it works
The Set up
T- Zone
Breathing & Movement
Permission to Continue
Concentration Points
Corrections/Common Mistakes
The Challenge
Encourage & Inspire
Remind & Recycle
The name of the exercise
The main reason the name of the exercise is given to the class is to build recognition, which benefits the regular members who may recognise the name and can immediately start the exercise. Thus regulars get a few extra reps in, providing more of a workout and you can focus on setting up the newer members or those requiring modifications.
Naming the exercise and having the regular members start doing the exercise straight away is great practice as then a new comer on the mat next to them will have another visual demonstration to copy off and help them to co-ordinate the moves.
If they don’t start it early, then they will at least be formulating in their mind what the exercise looks like and the co-ordination of the move before the exercise commences.
When the member recognises the name of the exercise they will then take less notice of the co-ordination advice you’re giving and can focus more on the concentration points that you’re identifying and the breathing pattern too.
What and or where it works
This describes the main aim of the exercise and the most important muscles and joint movements which are being worked, stretched or targeted. There will also be many other muscles working throughout each exercise to stabilise or move the body, but only the main ones being targeted are listed.
Telling people where they should be feeling the exercise pre-empts the most commonly asked question, which is “where should I be feeling this”? It also aids in enhancing the overall class experience for the member as they know whether they are doing it correctly or not. If they aren’t feeling it where they should be, they often then ask what they’re doing wrong or how to do the exercise better. They sometimes do this during the exercise but more often after class or after a few classes of feeling it in the wrong place.
During the cuing of the concentration points, it’s often good to reinforce where it should be working and then say “if you’re not feeling it there, pop your hand up and I’ll come and check your technique”. This is going the extra mile and shows you really care about your member.
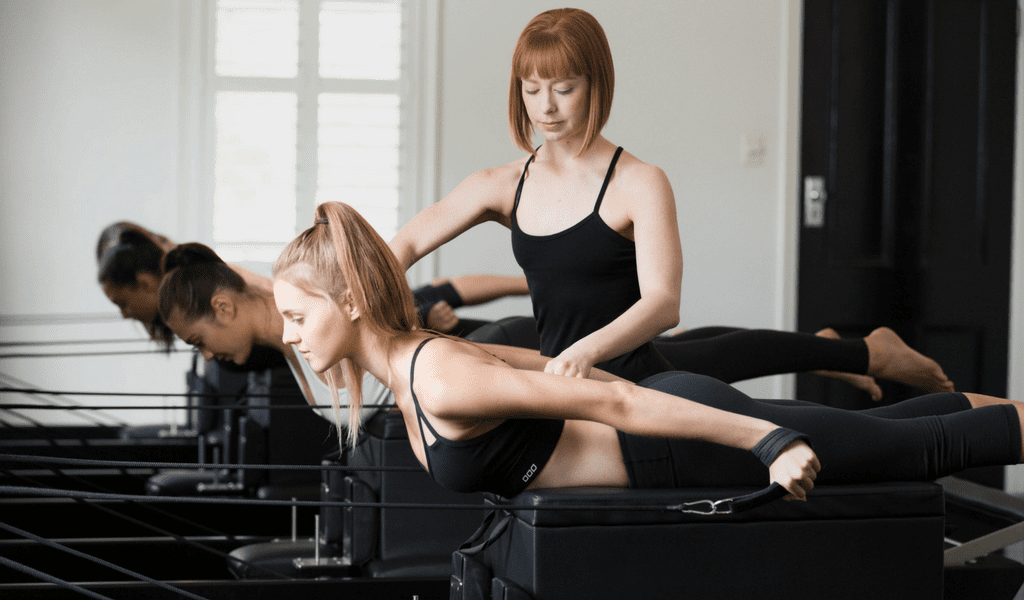
The set up
This is a detailed description of the starting position of each exercise, and should be verbalised in as much detail as possible to the clients, so they perform the exercise correctly from the start.
The T-Zone
The Transversus Abdominus and Pelvic Floor is quite a mouthful to say the hundreds of times you need to say it in a class, so we catchphrase it as ‘T-Zone’ for ease and speed. Ensure that you define and explain the T-Zone effectively in your Class Pre Amble then the use of the term ‘T-Zone’ throughout your class makes the class experience and your member’s results far superior.
Breathing and movement
This is a step-by-step description of the breathing pattern and specific movement sequence for each exercise. The descriptions in your instructing manual are written exactly as they should be verbalised, as these particular words have been found to achieve the best overall client understanding of the exercises.
Layering the communication here often helps. If it is a complex movement, give the movement first without the breathing and then on providing your second explanation of the movement, add in the breathing pattern.
All in demo and first two reps
Unless it’s an exercise that can be communicated with non-verbals and without a demo, it pays to give a demonstration rep or two for the visual learners in your class. After this demo, your class should be doing the exercise correctly and you should give permission to continue. As you do this you should be jumping up to supervise and to correct technique.
Permission to continue
After the members have got the co-ordination right, there’s no point in repeating yourself as they are doing what you have told them to do. Instead, simply give them permission to continue doing the movement and doing the breathing pattern and move on to the concentration points, which is where that extra little bit of ‘work’ is often hiding in each exercise.
Concentration Points
These are the key points to highlight for the clients to concentrate on after you have cued the set up and breathing and movement. They give the clients key points to focus on to increase the effectiveness of the exercise.
Modifications
Most exercises will have several modifications that can either make the exercise easier, harder or safer for the clients. Modifications are very important tool when taking a group class, as you can have people doing the same exercise but with different modifications and levels.
They are also very important for people with injuries. Using different modifications creates variety clients think it is a whole new exercise when you add a new modification in.
Corrections/Common Mistakes
The best way to instruct is to pre-empt common mistakes by cueing and explaining what members might choose to do wrong, before it occurs. When you do this, many people who were doing it incorrectly will self correct and if they don’t, you can then move towards them and either signal to them with your non-verbal communication or get ‘hands on’ and make a manual change if needed. Announcing the common mistakes keeps your class on the right track and reduces the amount of people for whom you will need to modify technique.
If you observe someone doing an exercise incorrectly, you can give the correction to the whole group (as long as it’s not too obvious and doesn’t embarrass the member by singling them out) as it often serves as a reminder to the whole class of what they should be doing with their technique.
The Challenge
Providing ways to make each exercise harder or easier, helps members to modify the intensity of their class up or down.
Encourage & Inspire
We all need encouragement when the going gets tough and this is definitely what your members need. They need constant encouragement to keep going, to work through the larger range of motion in order to work the muscles harder, to try the harder modification, to not stop and rest.
The more you encourage and inspire you will help members to achieve better results from your classes and you will inspire them to do more than they thought was possible for them.
Remind & Recycle
With so many technical points to think of with each exercise, the member will have often forgotten what you told them to concentrate on, what the breathing should be, what that harder variation was and they might have also slackened off by now as it’s getting a bit tough for them.
This is where you remind them of these things by recycling the Concentration Points, reminding of the Common Mistakes, giving that Challenge option again and giving more and more Encouragement.